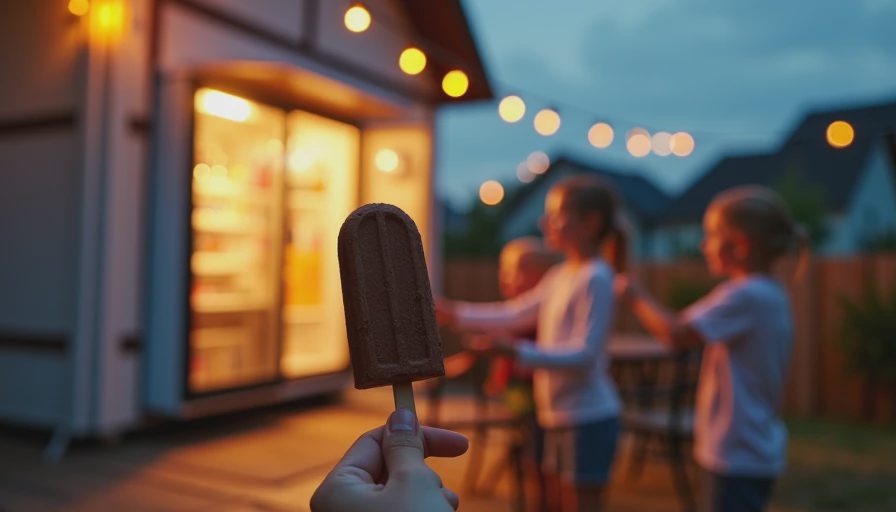
Fudge pops are the dessert I make when my family wants something cold, chocolatey, and genuinely satisfying, but I do not want a freezer full of syrupy treats. The best homemade version is not simply frozen chocolate milk. It needs enough cocoa for depth, enough fat for a creamy texture, and a carefully chosen sweetener so the result tastes like dessert rather than a compromise.
My approach is simple: use less added sugar, keep the chocolate flavor bold, and let dairy or a fortified nondairy milk provide body. These fudge pops are soft enough to bite after a few minutes on the counter, with a texture closer to a frozen pudding pop than an icy block. Less sugar. Same joy.
Why Homemade Fudge Pops Taste Better
Sugar does more than make a frozen dessert sweet. It lowers the freezing point, which helps prevent a hard, brittle texture. It also balances cocoa's natural bitterness and gives the mixture a rounder finish. That is why cutting sugar in half without changing anything else often creates icy, sharp-tasting fudge pops.
The solution is to build flavor in several ways. Unsweetened cocoa powder supplies concentrated chocolate character without added sugar. A small amount of vanilla makes the sweetness seem fuller. Salt does not make the pops salty; it reduces the perception of bitterness. For extra richness, I like whole milk, but 2% milk works well too. Unsweetened soy milk is my favorite dairy-free option because its protein gives the mixture more body than many thin plant milks.
For a batch of six 3-ounce pops, combine 2 cups of milk, 1/3 cup unsweetened cocoa powder, 3 tablespoons maple syrup, 2 tablespoons granulated sugar, 1 teaspoon vanilla extract, 1/8 teaspoon fine salt, and 1 tablespoon cornstarch. The modest amount of sugar is intentional. You still get a recognizable chocolate dessert, but the sweetness does not overpower the cocoa.

The Technique Behind Creamy Fudge Pops
Whisk the cocoa, sugar, cornstarch, and salt together in a saucepan before adding the milk. This dry mix prevents cocoa pockets and helps the cornstarch disperse evenly. Slowly whisk in the milk, then cook over medium heat for four to six minutes, stirring constantly. You are looking for a thin pudding consistency: the mixture should coat a spoon but still pour easily.
Remove the pan from the heat and stir in the maple syrup and vanilla. Adding them at the end protects some of maple's aroma and keeps vanilla from tasting muted. Let the mixture cool for about ten minutes, then pour it into molds. If you do not own pop molds, small paper cups and wooden craft sticks work. Freeze for at least six hours, preferably overnight.
Do not fill molds all the way to the rim. The mixture expands slightly as it freezes, and an extra half inch makes unmolding much less frustrating. To release a pop, run the mold under lukewarm water for five to ten seconds. Hot water melts the outside too quickly and can leave you holding the stick while the dessert stays behind.
Smart Sweetener Swaps
Maple syrup is useful here because it contributes both sweetness and a subtle caramel note. It is still an added sugar, so I use a measured amount rather than pouring freely. Honey works at the same 3-tablespoon quantity, although its flavor is more noticeable. If you replace maple syrup with honey, expect a slightly softer, more fragrant finish.
For a lower-sugar batch, replace the 2 tablespoons of granulated sugar with a granulated allulose product according to its package conversion. Allulose can produce a softer frozen texture, which is helpful in this recipe, but some people notice a cooling sensation or digestive discomfort when they eat a large amount. Start with one pop and see how it agrees with you.
Stevia blends vary widely, so I do not recommend an unmeasured “sweeten to taste” approach. Read the label and use the manufacturer’s equivalent for 2 tablespoons of sugar. The cocoa, milk, and cornstarch ratios can stay the same. Remember that a sweetener swap changes sweetness, not necessarily calories, carbohydrate content, or how your body responds. Anyone managing diabetes should consider the full nutrition facts and personal treatment plan.
How to Make the Chocolate Flavor Fuller
If your fudge pops taste flat, add flavor before adding more sweetener. Use Dutch-process cocoa for a smoother, darker profile, or natural cocoa for a brighter chocolate note. Either works, but avoid switching between them casually in baked recipes because their acidity behaves differently. In this stovetop mixture, the difference is mostly flavor.
A tablespoon of melted semisweet chocolate can make the texture feel more luxurious, though it adds sugar and calories. For a stronger grown-up version, add 1/2 teaspoon of espresso powder. It will not make the dessert taste like coffee; it amplifies the chocolate. A pinch of cinnamon gives warmth, while orange zest makes the cocoa taste more aromatic.
I tested these fudge pops with my children and with adults who usually prefer very sweet frozen desserts. The lower-sugar batch tasted distinctly chocolate-forward rather than candy-sweet. That is a feature, not a flaw. If your household expects ice cream-level sweetness, serve the first batch with sliced strawberries or a small spoonful of whipped cream instead of automatically increasing the sugar.
Troubleshooting Frozen Texture
Hard, icy pops usually have too much water and not enough dissolved sugar, fat, or solids. Using skim milk can make that problem more obvious, while whole milk or soy milk gives a smoother bite. A completely frozen pop will always be firmer than a store-bought product because commercial desserts often contain stabilizers and specialized equipment.
If the pops are difficult to remove, the problem is usually temperature rather than the recipe. Give the mold a brief lukewarm-water bath, then pull straight up with steady pressure. If the pops melt rapidly while you eat them, freeze them longer next time and avoid leaving the tray on the counter during unmolding.
For a swirl, reserve 1/3 cup of the cooked mixture, whisk in 1 tablespoon peanut butter, and layer it with the chocolate base. The peanut butter adds fat and protein, but it also contributes calories, so treat this as a flavor variation rather than a nutrition upgrade. Chopped toasted walnuts create pleasant crunch, although they work best sprinkled into individual molds because they sink in a large container.
A Practical Make-Ahead Plan
Make fudge pops on Saturday morning and they will be ready for the week ahead. Keep them in their molds until serving so they do not collect freezer odors. Once unmolded, wrap each one in parchment or place it in a freezer-safe bag. They are best within two weeks, when the cocoa flavor is fresh and the surface has not developed noticeable freezer burn.
For a party, make one classic batch and one raspberry batch by blending 1/2 cup strained raspberry puree into the cooled mixture. The fruit adds acidity and a brighter finish, but it also adds water, so freeze the pops overnight. Label the flavors if children are choosing among them; dark chocolate and raspberry can look surprisingly similar when frozen.
These fudge pops are not a magic health food, and they do not need to be. They are a deliberate dessert made with measured sweetness, useful ingredients, and enough chocolate character to feel special. Start with the base recipe, taste the cooled mixture before freezing, and adjust next time in small increments. That is how you get less sugar without losing the part that makes dessert worth sharing.


Letters
No letters yet — be the first to write.