A good gluten free brownies recipe should produce brownies, not chocolate-scented health bars. I want a shiny top, chewy edges, and a center that stays fudgy after cooling. This version also uses less sugar than many traditional recipes, but it does not pretend sugar is doing nothing in the bowl. Sugar sweetens, holds moisture, encourages browning, and helps create that soft texture. Remove too much without replacing those jobs, and you get dry, crumbly squares.
My approach is simple: use a reliable gluten-free flour blend, enough fat for tenderness, cocoa and melted chocolate for depth, and a moderate amount of brown sugar. The result is rich enough for a birthday plate but balanced enough for an ordinary Tuesday. Less sugar. Same joy.
Ingredients for dependable gluten free brownies
You will need 1/2 cup unsalted butter, 4 ounces semisweet chocolate, 3/4 cup packed light brown sugar, 1/4 cup granulated sugar, two large eggs, 1 teaspoon vanilla extract, 3/4 cup certified gluten-free all-purpose flour blend, 1/3 cup unsweetened cocoa powder, 1/2 teaspoon fine salt, and 1/2 cup chocolate chips or chopped walnuts.
Choose a flour blend that contains a starch, such as tapioca, potato, or cornstarch. A blend made only from one grain can make the crumb gritty or heavy. If your blend does not contain xanthan gum, add 1/4 teaspoon. You do not need a large amount; too much can make brownies oddly stretchy.
For the chocolate, semisweet bars or baking wafers melt smoothly. Chocolate chips work in a pinch, but some brands contain stabilizers that leave the batter slightly thicker. Dutch-process cocoa gives a deep, mellow flavor, while natural cocoa creates a sharper chocolate note. Either works here because the recipe does not depend on a large chemical reaction for lift.
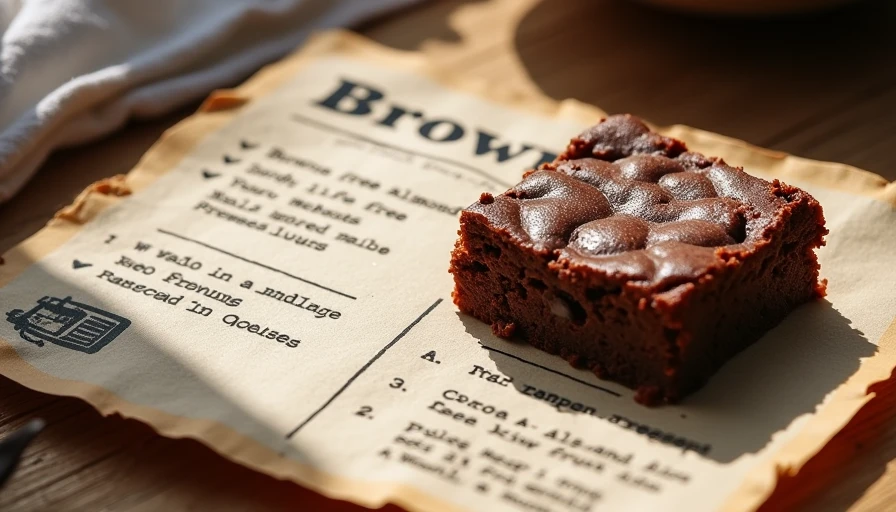
How to make this gluten free brownies recipe
Heat the oven to 350 degrees F. Line an 8-inch square metal pan with parchment, leaving paper over two sides so the cooled brownies lift out easily. Lightly grease the uncovered sides.
Melt the butter and semisweet chocolate together in a heatproof bowl over a saucepan of barely simmering water, or use the microwave in 20-second bursts. Stir after each burst. Let the mixture cool for five minutes so it is warm rather than hot.
Whisk in both sugars, then add the eggs one at a time. Whisk in the vanilla. In a separate bowl, stir together the flour blend, cocoa, salt, and xanthan gum if needed. Fold the dry ingredients into the chocolate mixture just until no pale streaks remain. Stir in the chips or walnuts.
Spread the batter into the pan and smooth the surface. Bake for 24 to 29 minutes. The edges should look set, while the center should still have a slight wobble. A toothpick inserted near the center should come out with moist crumbs, not wet batter. Do not wait for a completely clean toothpick; that is how fudgy brownies become dry brownies.
Cool the pan on a rack for at least 45 minutes before slicing. For especially neat squares, chill the pan for 30 minutes after it reaches room temperature, then use a sharp knife wiped clean between cuts.
Why the lower-sugar balance works
A typical brownie recipe can use 1 1/2 cups of sugar for a similar pan. This gluten free brownies recipe uses 1 cup total, but I have not simply removed half the sugar and hoped for the best. The melted chocolate adds richness and a little sweetness, while brown sugar contributes moisture and a soft chew. Butter carries flavor and keeps the crumb tender.
The eggs provide structure as they set in the oven. That matters even more in gluten-free baking because there is no wheat gluten network holding the pieces together. The starches in the flour blend absorb moisture, but they need time to hydrate. That is why resting the batter is not necessary, yet cooling the finished brownies is essential.
If you want to reduce the sugar further, remove only 2 tablespoons of the granulated sugar on your first attempt. The brownies will be slightly less glossy and a little more bittersweet. Replacing all the sugar with a liquid sweetener changes the moisture and structure dramatically, so I would not make that swap in this formula.
Troubleshooting common brownie problems
If your brownies are dry, the most likely cause is overbaking. Oven temperatures can run 15 to 25 degrees hotter than the dial suggests, especially in older ovens. Begin checking at 24 minutes and use the moist-crumb test. A glass pan can also require a few extra minutes and may produce softer edges than metal.
If the center sinks deeply, the batter probably needed another minute or two, or the eggs were whipped aggressively and carried too much air. Whisk until combined rather than beating the mixture until fluffy. A slight dip is normal in fudgy brownies; a crater with a wet middle is not.
If the texture is gritty, give the brownies more cooling time before judging them. Some gluten-free flours hydrate as the dessert cools. If the grit remains, switch to a finer commercial blend and measure it by weight if possible. Three-quarters cup is about 90 grams, though blends vary.
If the brownies crumble when sliced, they are either warm or understructured. Chill them before cutting, and confirm that your flour blend includes starch. Also inspect the chocolate label if gluten cross-contact is a concern. Certified gluten-free ingredients are the safer choice for people with celiac disease.
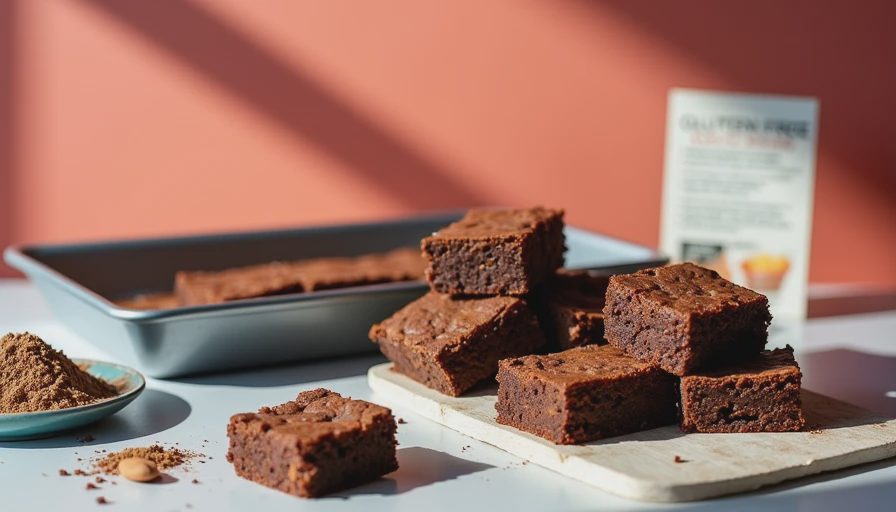
Smart variations and serving ideas
For a nut-free batch, use extra chocolate chips or toasted pumpkin seeds. A teaspoon of instant espresso powder deepens the chocolate flavor without making the brownies taste like coffee. For a holiday tray, add a pinch of flaky salt after baking. You can also swirl 3 tablespoons of peanut butter into the top, but choose a thick, unsweetened style so it does not loosen the batter.
Serve these squares plain, with berries, or warmed for 10 seconds and topped with a spoonful of Greek yogurt. For children, I cut a few into small two-bite pieces and freeze the rest. The portions still feel like dessert, and the freezer keeps an open pan from becoming an automatic after-dinner habit.
This gluten free brownies recipe makes about 16 small squares or 9 generous pieces. Smaller portions are useful when you are serving several desserts because the brownies are dense and satisfying. They are not sugar-free, and they are not intended to turn dessert into a nutrition test. They are simply a more measured bake with real chocolate flavor.
Storage, freezing, and final notes
Store cooled brownies in an airtight container at room temperature for up to three days. Place parchment between layers if you stack them. Refrigeration keeps them longer, about five days, but it firms the butter and makes the texture less plush. Let chilled pieces sit at room temperature for 20 minutes, or warm one briefly before serving.
To freeze them, cut the slab completely, wrap individual pieces in parchment, and place them in a freezer bag for up to two months. Thaw at room temperature. The tops may lose a little of their original shine, but the centers remain pleasantly fudgy.
The best gluten free brownies recipe is not the one with the longest ingredient list or the biggest promise. It is the one that explains what each ingredient does and gives you useful visual cues when the timer is not enough. Use a good flour blend, pull the pan while the center still has moist crumbs, and let the brownies cool before slicing. That small amount of patience delivers a dessert nobody needs to apologize for.

Letters
No letters yet — be the first to write.