This gluten free brownie recipe is the one I make when I want deep chocolate flavor, a shiny top, and a center that lands somewhere between fudge and truffle. It uses a 1:1 gluten-free flour blend, real cocoa, a little melted dark chocolate, and less sugar than most bakery-style brownies, but it still tastes like dessert. The pan is a 9-by-9-inch square, the bake time is short, and the result is the kind of pan you can bring to a school event or a weeknight dinner without apologizing for the ingredient list.
Why this gluten free brownie recipe stays fudgy
Sugar does more than sweeten. It holds onto moisture, helps the top turn glossy, and keeps the crumb tender instead of dry and cakey. That is why I do not slash it to the bone. In this pan, 3/4 cup granulated sugar is enough because melted butter and chopped chocolate bring richness, and two eggs build structure. If you use too little sugar, the brownies can bake up dense and bitter rather than pleasantly chewy.
The flour choice matters just as much. I want a cup-for-cup gluten-free blend that already includes xanthan gum, such as King Arthur Measure for Measure or Bob's Red Mill 1-to-1 Baking Flour. Those blends behave more like all-purpose flour and less like a random pile of starches. Almond flour alone gives a softer, more fragile bar, which is a different dessert. For this recipe, the brownie needs enough structure to slice cleanly, but not so much that it tastes like a chocolate snack cake. When I tested this formula with my own family, nobody complained about the swap because the texture stayed dense, glossy, and genuinely brownie-like.
The ingredient list, measured for a 9-by-9 pan
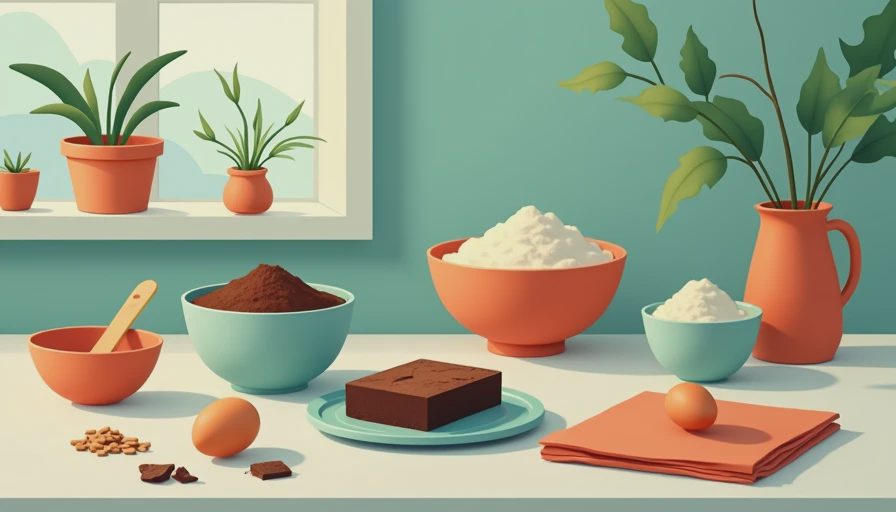
For the batter, I use 6 tablespoons unsalted butter, 2 ounces chopped dark chocolate, 3/4 cup granulated sugar, 2 large eggs, 1 teaspoon vanilla, 1/2 cup cocoa powder, 3/4 cup gluten-free flour blend, 1/2 teaspoon fine salt, and 1 teaspoon espresso powder if I want the chocolate to taste deeper. That combination gives you a brownie that tastes rich even though the sugar level is lower than most boxed mixes. The cocoa does the heavy lifting, while the chocolate pieces add a fudgy pocket here and there. A little espresso powder does not make the brownies taste like coffee; it makes the chocolate taste more like itself.
If you need a dairy-free version, use a neutral oil and dairy-free dark chocolate, but expect a slightly softer bite and a less buttery finish. If you want the brownies sweeter, increase the sugar to 1 cup. If you want a darker, more grown-up flavor, keep the sugar at 3/4 cup and choose a 70 percent chocolate bar. I would not use a liquid stevia syrup here; brownies need bulk, not just sweetness. A cup-for-cup monk fruit blend can work, but the top will not crack quite the same way. For the best flavor, let the melted chocolate mixture sit for a minute before adding the eggs so the batter stays smooth and does not seize.
How to mix the batter so the top turns shiny
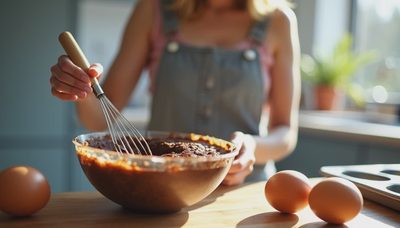
This gluten free brownie recipe comes together in one saucepan and one bowl, which is part of why it works on a busy night. Melt the butter with the chocolate over low heat, then whisk in the sugar while the mixture is still warm. That warmth helps the sugar dissolve, which sets you up for the shiny top people chase in good brownies. Let the pan cool for a minute, then whisk in the eggs one at a time so the batter stays glossy instead of turning lumpy. Add the vanilla, then fold in the cocoa, flour, salt, and espresso powder just until no dry streaks remain.
Overmixing is the easiest way to make brownies bready. A few extra stirs can wake up the starches in the flour blend and tighten the crumb. Stop as soon as the batter looks uniform, then scrape it into a parchment-lined pan. I like to leave a little parchment hanging over two sides so the whole slab lifts out cleanly. If you want add-ins, keep them modest: 1/2 cup chopped walnuts, pecans, or chocolate chips is enough. Too many mix-ins can break up the fudgy texture and make the squares crumble when you cut them.
Bake time, doneness, and cooling
Bake at 350 F for about 22 to 26 minutes. Start checking early, because a dark metal pan can run hot and an insulated pan can run slow. You want the edges set and the center to show moist crumbs on a tester, not wet batter. If you wait for a fully clean toothpick, the brownies will be dry by the time they cool. This is the point where patience matters more than another minute in the oven. If your oven runs cool, you may need the full 26 minutes or a touch more.
Let the pan rest on a rack for at least 90 minutes, then chill it if you want sharp, bakery-style squares. Warm brownies taste good, but cooled brownies slice better and taste more chocolate-forward because the cocoa fat firms up a little. A hot knife wiped between cuts gives you the neatest edges. If you are serving a crowd, cut the pan into 16 pieces for a generous square or 20 pieces for a party tray. Either way, the flavor is rich enough that a smaller piece feels satisfying, and the texture stays pleasantly fudgy instead of falling apart.
Common fixes when the brownies do not behave
If the top is dull instead of crackly, the sugar may not have dissolved enough, or the batter may have cooled too much before it went into the oven. If the center sinks, your pan may have been underbaked or your flour blend may have been heavier on starch than the brand I used. If the brownies taste salty or flat, check your chocolate first; some bars bring more bitterness than others, and the flavor may need a touch more sugar to round it out.
If the texture feels gummy, the brownies likely needed another five minutes in the oven or a longer cooling time before slicing. Gluten-free baking rewards the baker who lets the starches set. And if you only have almond flour, do not swap it cup for cup here. Almond flour brownies are delicious, but they are a different formula with more oil, less chew, and a softer crumb. This one is built for a flour blend that behaves like flour, not ground nuts.
Serving, storage, and make-ahead tips
I like these plain with coffee, but they are also good with raspberries, vanilla ice cream, or a spoonful of lightly sweetened whipped cream. For a party, cut them small and stack them on a tray. The chocolate flavor is strong enough that a little goes a long way, which is helpful when you want dessert without a sugar crash. A sprinkle of flaky salt on top can make the chocolate taste brighter, especially if you used a sweeter brand of chips.
Store leftovers in an airtight container at room temperature for three days, or refrigerate them for up to five if your kitchen is warm. They freeze well for about two months. Wrap individual squares, then thaw on the counter or warm them briefly in the microwave. If you like to bake ahead, make the pan the day before, let it cool fully, and cut it the next morning. The texture firms up overnight, and the flavor gets even better. For bake sales, I cut them once chilled, then let them come to room temperature before serving so the center stays soft. Less sugar. Same joy.
Letters
No letters yet — be the first to write.