A good macadamia cookie should taste like butter, vanilla, and toasted nuts first, sugar second. That is the whole point of this version. I wanted a batch that still felt like dessert, but did not hit the table with the same sugar load as the old-school bakery style. The trick is not to strip sweetness to the bone. It is to keep enough sugar for browning and spread, then lean on browned butter, salt, and a good toast on the nuts so every bite tastes fuller.
Why this macadamia cookie bakes differently
Sugar does three jobs in baking: it sweetens, it helps the cookie brown, and it holds on to moisture. When you slash it too far, the dough can bake up pale, dry, and oddly blunt. This macadamia cookie keeps those jobs in balance by trimming the sugar modestly instead of pretending sugar is optional. I use browned butter because it adds depth and a little nuttiness where the lost sugar flavor would have been. I also keep the salt honest. Macadamias are rich and soft, so a little extra salt keeps them from tasting flat.
The other reason this works is texture. Macadamias are high in fat, so they melt into the dough faster than walnuts or pecans. That means you want a dough that is chilled enough to hold shape but not so stiff that it bakes up cakey. If you have ever had a low-sugar cookie that tasted like sweetened paste, you know the difference. This version lands closer to a bakery cookie: crisp edges, a tender center, and a buttery finish that makes you reach for a second one.
The sugar swap inside a macadamia cookie
For one batch, I use 1/2 cup browned unsalted butter, 1/2 cup packed light brown sugar, 1/4 cup granulated sugar, 1 large egg plus 1 yolk, 1 teaspoon vanilla, 1 1/2 cups all-purpose flour, 1/2 teaspoon baking soda, 3/4 teaspoon fine salt, 1 cup toasted salted macadamias, and 1/2 cup chopped white chocolate if you want a classic bakery feel. That is less sugar than a standard café-style batch, but not so little that the cookie loses its voice.
A macadamia cookie like this does best with brown sugar in the lead because molasses flavor makes the sweetness seem deeper than it is. The small amount of white sugar still helps with spread and crispness. The extra yolk gives you richness and a softer center, which matters when you are not leaning on sugar for tenderness. If you want to reduce sugar even more, do it by shrinking the white chocolate, not by cutting the dough sugar to the point where the texture falls apart. That keeps the batch satisfying without turning it into a compromise dessert.
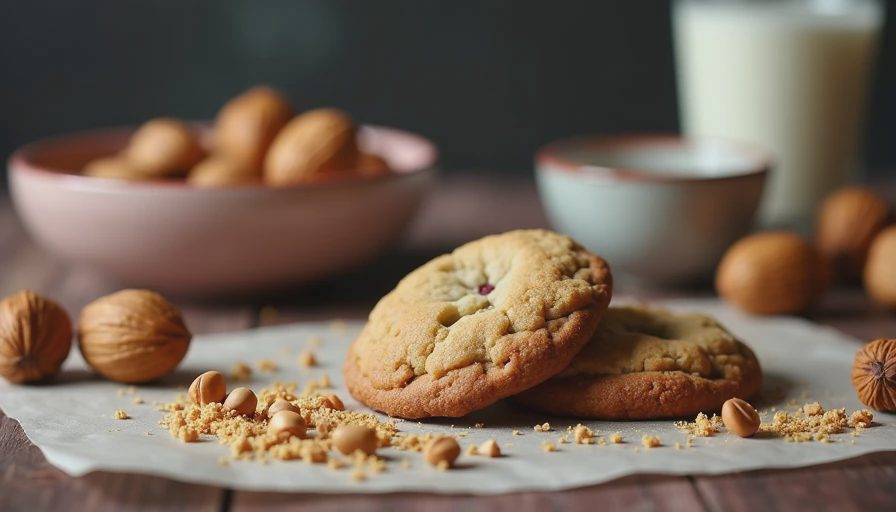
Mixing and baking for the best texture
Start by browning the butter in a light-colored skillet so you can see the milk solids turn golden and smell that toasted, hazelnut note. Let it cool until warm, not hot. Whisk in the brown sugar and granulated sugar until the mixture looks glossy. Beat in the egg, yolk, and vanilla. In a separate bowl, stir the flour, baking soda, and salt together, then fold the dry ingredients into the wet just until you stop seeing flour streaks. Add the nuts and chocolate last so you do not overmix the dough.
The dough should be soft but not sticky enough to smear all over your hands. If it feels loose, chill it for 30 minutes. Scoop tablespoon-and-a-half portions and leave room between them, because the cookies will spread a little. Bake at 350 F for 11 to 13 minutes, pulling them when the edges are set and the centers still look slightly underdone. They finish on the pan. That short rest is what gives you a chewy middle instead of a dry, brittle bite.
What the first bite tastes like
Here is the honest taste test: this batch is less sweet than a classic bakery cookie, but it does not taste healthy in the pejorative sense. It tastes deliberate. The toasted macadamias come forward fast, then the browned butter shows up with a caramel note that fills in what the reduced sugar leaves behind. With the white chocolate, you get a softer, dessert-shop feel. Without it, the cookie reads cleaner and more nut-forward, which my family liked just as much with coffee or cold milk.
The texture lands in the sweet spot for a lot of home bakers. The edges are crisp on day one, the centers stay tender through the next afternoon, and the cookies do not collapse into greasy puddles on the tray. If you want to bring them to a potluck, this is the kind of batch people think came from a fancy bakery. Then they ask for the recipe, which is always a good sign.
Storage, freezing, and easy serving ideas
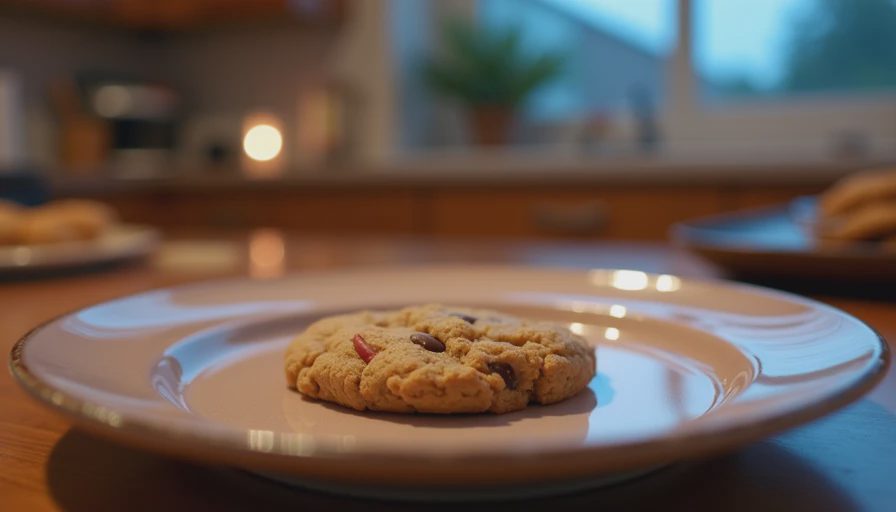
Store the baked cookies in an airtight container at room temperature for up to three days. Slip a small piece of bread into the container if your kitchen is dry; it helps keep the centers soft without changing the flavor. For longer storage, freeze the dough balls on a sheet pan, then move them to a zip-top bag. They bake well straight from frozen with about one extra minute in the oven, which is a nice trick when you want fresh dessert without a full project.
If you are serving these for a dinner party, pair them with espresso, black tea, or vanilla ice cream. If you are packing lunchbox treats, let the cookies cool completely first so the chocolate does not smear. This is also a smart recipe to double, because the ingredients are ordinary and the payoff is high. A cookie that tastes rich, not cloying, tends to disappear quickly. And that is the whole promise here: less sugar, same joy, and a dessert you do not have to talk yourself into eating.




Letters
No letters yet — be the first to write.