Red velvet brownies are the dessert I make when someone wants a celebration cake and a brownie at the same time. They have the cocoa depth of a brownie, the striking crimson color of red velvet cake, and a tender center that does not need a thick layer of frosting to feel special. My version uses less sugar than many classic recipes, but it keeps enough sweetness, fat, and moisture to avoid the dry, cardboard texture that gives reduced-sugar baking a bad name.
The trick is understanding what sugar does besides making food sweet. Sugar holds moisture, encourages browning, and helps create a soft, slightly chewy crumb. Cutting it without replacing those functions can leave you with a pale, brittle square. Here, unsweetened cocoa, melted butter, Greek yogurt, and a measured amount of granulated sugar work together so these red velvet brownies still taste like dessert.
Why These Brownies Work
A red velvet flavor should be chocolate-forward but not as intense as a flourless chocolate brownie. Use natural unsweetened cocoa powder rather than Dutch-process cocoa for a brighter color and a gentle tang. The small amount of vinegar in the batter supports that tang and reacts with baking soda, giving the brownies a little lift without turning them cakey.
For color, use one to two teaspoons of red gel food coloring. Gel is more concentrated than liquid coloring, so it adds vivid color without thinning the batter. If you prefer to skip food coloring, the brownies will still taste good, but they will look deep chocolate brown rather than classic red velvet. That is a visual choice, not a flavor failure.
I use 3/4 cup granulated sugar for a standard 8-inch square pan. That is enough to make red velvet brownies taste like a celebration while leaving room for the cocoa and vanilla to come through. Reducing the sugar much further changes the texture noticeably: the edges become firm, the middle loses its fudginess, and the cocoa can taste harsh.
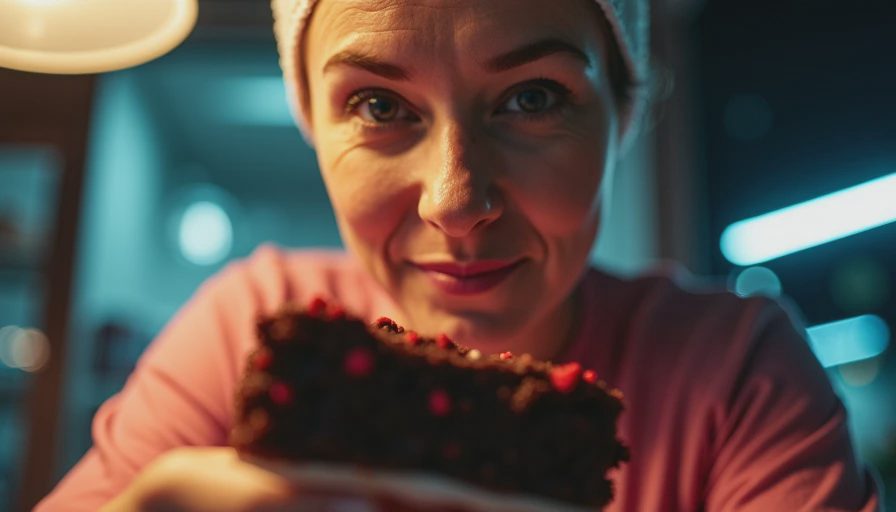
Ingredients and Exact Swaps
For one 8-inch pan, gather 1/2 cup unsalted butter, melted and slightly cooled; 3/4 cup granulated sugar; two large eggs; 1/3 cup plain Greek yogurt; two teaspoons vanilla extract; one teaspoon red gel food coloring; one teaspoon apple cider vinegar; 3/4 cup all-purpose flour; 1/4 cup natural unsweetened cocoa powder; 1/2 teaspoon baking powder; 1/4 teaspoon baking soda; and 1/2 teaspoon fine salt. Optional white chocolate chips add sweetness and creamy contrast, but I usually leave them out for a less sugary result.
Greek yogurt is doing more than adding protein. Its moisture and acidity soften the crumb, which helps compensate for using less sugar. Full-fat yogurt gives the richest result, while low-fat yogurt also works. Avoid nonfat yogurt if your goal is maximum fudginess; it can make the edges feel slightly dry.
If you want to use a sugar substitute, replace only 1/4 cup of the granulated sugar with an allulose baking blend. Do not replace the entire amount on your first attempt. Allulose browns quickly and can produce a softer, slightly less chewy center. A granulated stevia or erythritol product will not behave identically, and some leave a cooling aftertaste. The tested version with regular sugar has the most dependable texture.
How to Bake Red Velvet Brownies
Heat the oven to 350 degrees Fahrenheit. Line an 8-inch square metal pan with parchment, leaving enough overhang to lift the finished brownies out. Metal conducts heat more efficiently than glass, so it gives you firmer edges and a properly baked center. If using a glass pan, start checking for doneness a few minutes later.
Whisk the melted butter and sugar together until glossy. Add the eggs one at a time, whisking well after each addition, then stir in the yogurt, vanilla, coloring, and vinegar. In a separate bowl, whisk the flour, cocoa, baking powder, baking soda, and salt. Fold the dry ingredients into the wet mixture just until no dry streaks remain. Overmixing develops gluten and pushes the texture toward cake.
Spread the batter evenly in the lined pan. Bake for 23 to 28 minutes, rotating once if your oven has a hot spot. The edges should look set, while the center should still have a slight wobble. A toothpick inserted near the middle should come out with moist crumbs, not clean. A clean toothpick usually means the brownies have gone too far.
Cool the pan on a rack for at least 45 minutes before slicing. The center continues to set as it cools. For especially neat squares, refrigerate the pan for 30 minutes, then cut with a sharp knife wiped clean between slices.
The Science of Less Sugar
Sugar reduction works best when it is measured rather than improvised. Sugar crystals compete with flour for water, which helps keep a brownie tender. They also dissolve into the butter and eggs, creating a smooth batter. If you simply remove half the sugar, there is less moisture retention and less spread, so the final bake can become dense in an unpleasant way.
That is why these red velvet brownies use yogurt as a supporting ingredient instead of relying on a dramatic sweetener swap. The yogurt brings water and acidity, while butter supplies the richness that makes a smaller amount of sugar feel satisfying. Cocoa adds bitter complexity, so vanilla and salt become more important too. A pinch of salt does not make the brownies salty; it sharpens the chocolate and keeps the sweetness from tasting flat.
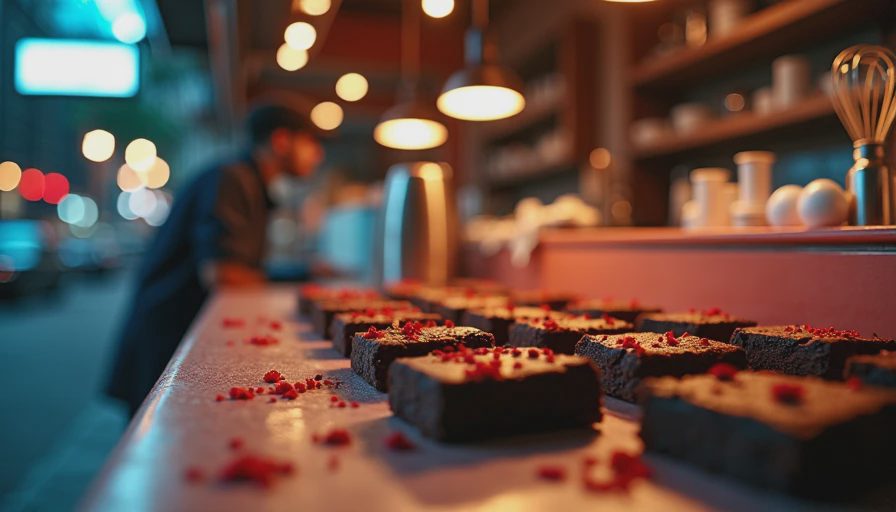
Serving, Storage, and Nutrition Notes
Serve red velvet brownies plain, with a thin drizzle of melted white chocolate, or topped with a tablespoon of lightly sweetened cream cheese spread. I prefer the cream cheese option when serving them at a birthday gathering because its tang balances the cocoa without requiring a thick frosting layer.
Store the cooled squares in an airtight container at room temperature for up to three days. For a firmer, chewier texture, refrigerate them and let one sit on the counter for 15 minutes before eating. They also freeze well when wrapped individually in plastic and placed in a freezer bag. Thaw them overnight in the refrigerator or for about an hour at room temperature.
These are reduced-sugar brownies, not sugar-free or carbohydrate-free brownies. Flour, sugar, and optional toppings still contribute carbohydrates. If you are counting carbohydrates for diabetes management, portion size and the specific ingredients you use matter. I cut the pan into 16 squares for small treats or nine larger squares for a more generous dessert.
Common Questions About Red Velvet Brownies
Can you make them without food coloring? Yes. The cocoa flavor remains the same, and the brownies will be brown. Beet powder can add a muted red tone, but it will not create the bright color of gel coloring and may add an earthy note.
Why did my brownies turn cakey? The most common causes are too much flour, overmixing, or overbaking. Spoon flour into a measuring cup and level it instead of packing it down. Pull the pan when moist crumbs cling to the tester.
Can you frost red velvet brownies? Absolutely, but keep the layer thin. A simple mixture of four ounces softened cream cheese, two tablespoons powdered sugar, and 1/2 teaspoon vanilla is enough for a light topping on a cooled pan.
These red velvet brownies prove that less sugar does not mean less pleasure. Measure the reduction, protect the moisture, and let the brownies cool before judging the texture. Less sugar. Same joy.

Letters
No letters yet — be the first to write.