Cookies and cream cookies are the kind of treat that can go two ways fast: either a flat, overly sweet mashup of crumbs, or a bakery-style cookie with a vanilla base, dark chocolate pockets, and a soft middle. I want the second version. In my kitchen, the goal is not to strip away dessert; it is to keep the flavor while using enough sugar to do its real job. That is where the science helps. Once you understand how sugar controls spread, browning, and moisture, you can make a cookie that tastes rich without being cloying.
Why cookies and cream cookies need a softer sweetness strategy
Sugar is not just there to make things sweet. In a cookie dough, it also holds onto water, helps the dough spread in the oven, and encourages the edges to caramelize. If you cut too hard, the cookie can bake up pale, dry, and a little cakey. If you leave all the sweetness to the sandwich-cookie pieces, the final bite can taste one-note and sharp. For this style of cookie, I like a modest reduction, usually around 20% to 30%, rather than a dramatic slash.
The easiest way to keep the texture close to classic is to replace part of the sugar with allulose or another 1:1 baking sweetener that has bulk. Allulose behaves more like sugar than stevia does, so the dough still spreads and browns in a familiar way. If you use a monk fruit blend, choose one labeled for baking and expect a slightly different finish, not a clone. The point is to make a cookie that still looks and eats like dessert, just with a lighter sugar load.
A standard batch works well with real butter, an egg, vanilla, all-purpose flour, a little cornstarch, and enough chopped sandwich cookies to make every bite interesting. I like to chop the cookies into a mix of fine crumbs and chunky pieces. Fine crumbs flavor the dough, while bigger pieces give you that dark, dramatic contrast when you bite in. Too many crumbs and the dough turns muddy; too many huge chunks and the cookie can fall apart.
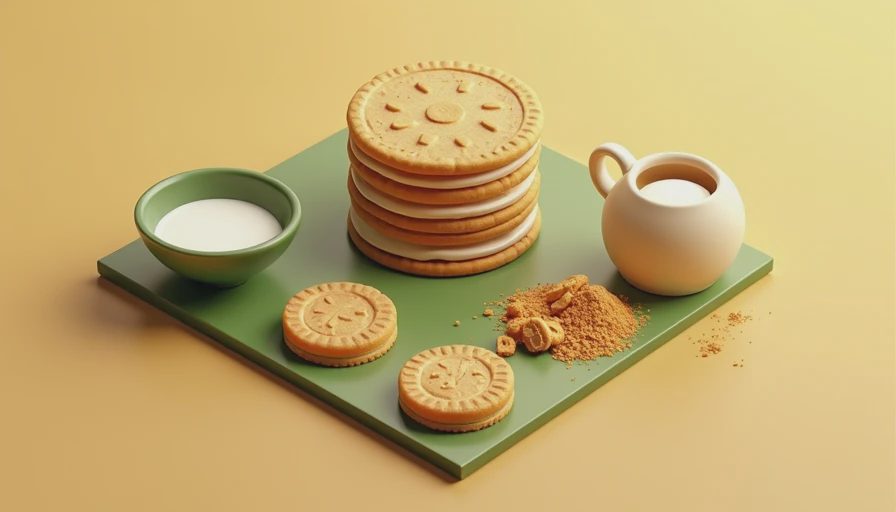
The swap list that keeps the crumb tender
If you want these cookies to stay soft in the center, start with the fat. Use unsalted butter that is cool but pliable, not melted. Cream it with the sugar for only one to two minutes, just until it looks lighter. Overbeating at this stage whips in air you do not need, and the cookie can puff and collapse instead of baking evenly. That small detail matters more than people think.
Next comes flour. A little too much flour makes the cookie dry and dull, especially when the add-ins already bring a lot of dry texture. Spoon and level the flour instead of scooping straight from the bag. I also add one tablespoon of cornstarch to a batch of about two cups of flour. It softens the crumb without making the cookie fluffy in the wrong way. That tiny bit of starch is a good trade for the tenderness sugar would normally help create.
For the cookie pieces, use a familiar brand like Oreo or another chocolate sandwich cookie you already like, because this is not the place for a surprise flavor. If you want to push the sugar down further, use fewer mix-ins and more vanilla dough. About 10 to 12 chopped cookies in a medium batch gives you strong flavor without turning the whole dough into crumbs. If you are serving kids, the milder balance usually wins because the vanilla base keeps the chocolate pieces from taking over.
Mixing, scooping, and baking for the best texture
Once the dough comes together, chill it for at least 20 minutes. That pause gives the flour time to hydrate and the butter time to firm up, which helps the cookies bake thicker. It also keeps the chocolate-cookie bits from bleeding into the dough too much. If you have an extra half hour, chill longer. A colder dough usually gives you a more bakery-looking cookie with clearer edges and a better center.
Scoop with a two-tablespoon scoop for a cookie that feels generous but not oversized. Press a few extra pieces of sandwich cookie onto the tops before baking so the finished tray looks intentional, not random. Bake at 350 degrees Fahrenheit until the edges are set and the centers still look slightly underdone. In my oven, that usually takes 10 to 12 minutes. Pulling them at that stage is the difference between a soft, chewy cookie and one that goes dry by the next day.
When the tray comes out, let the cookies sit for five minutes before moving them. They finish setting as they cool, and that rest keeps them from breaking. If you like a little contrast, sprinkle a pinch of flaky salt on top right after baking. It does not make the cookies salty; it just sharpens the vanilla and chocolate flavor so the reduced sugar does not feel flat.

Storage, freezing, and the family taste test
These keep well in an airtight container at room temperature for about three days, though the texture is best on day one and day two. If you want to plan ahead, freeze the scooped dough balls on a sheet pan, then move them to a freezer bag. Bake from frozen and add a minute or two. That is the kind of shortcut that makes a weekday treat feel doable instead of like a project.
My own taste-test rule is simple: if the cookie still tastes like dessert to an ordinary eater, the sugar reduction is working. These pass that test. The vanilla base tastes clean, the sandwich-cookie pieces bring the familiar chocolate note, and the sweetness lands in the middle instead of shouting from the first bite. My kids go for the edge pieces first because they get the best crunch, and I like the centers because they stay soft without feeling heavy.
If you bake cookies and cream cookies once and decide you want them a touch sweeter next time, that is useful information, not failure. Add back a tablespoon or two of sugar and keep the rest of the formula the same. If you want them even lighter, cut the sugar a little more but keep the allulose or other bulk sweetener in place so the dough still behaves. That is the whole point of smart baking: less sugar. Same joy.




Letters
No letters yet — be the first to write.