White and chocolate brownies are the answer when one pan needs to satisfy both the white-chocolate lovers and the people who want deep, bittersweet cocoa. This version has a fudgy center, a lightly crackled top, and enough sweetness to feel like dessert without turning the whole experience into a sugar bomb. I developed it with the same rule I use for every reduced-sugar bake: change the ratio deliberately, because sugar is not only there to make food taste sweet.
The batter is divided into two parts. One gets cocoa and semisweet chocolate; the other gets white chocolate and vanilla. The result looks festive enough for a birthday table but remains straightforward enough for a Saturday afternoon with children underfoot. You will need an 8-inch metal square pan, parchment paper, a saucepan, and a kitchen scale if you have one.
Why the sugar reduction still works
A typical brownie recipe can use 1 to 1 1/2 cups of sugar for an 8-inch pan. That sugar contributes sweetness, moisture, browning, and the thin, shiny crust that makes a brownie feel special. Simply removing half of it usually creates a dry, cakey square because the batter loses both liquid-binding power and structure.
Here, I use 3/4 cup granulated sugar plus 2 tablespoons pure maple syrup. The maple syrup adds a little moisture and a rounded flavor, while the smaller amount of granulated sugar still supports browning and that delicate top crust. This is not a sugar-free recipe, and I would not describe it that way. It is a dessert with less added sugar than many comparable brownies, designed to taste like a real brownie rather than a compromise.
For the chocolate, choose bars or chips with a cocoa percentage around 55% to 65%. Very dark chocolate can make the cocoa layer taste harsh when the sugar is reduced. For the white layer, use real white chocolate containing cocoa butter if possible. Some inexpensive baking morsels use vegetable fats, which can melt thickly and leave a waxy finish.
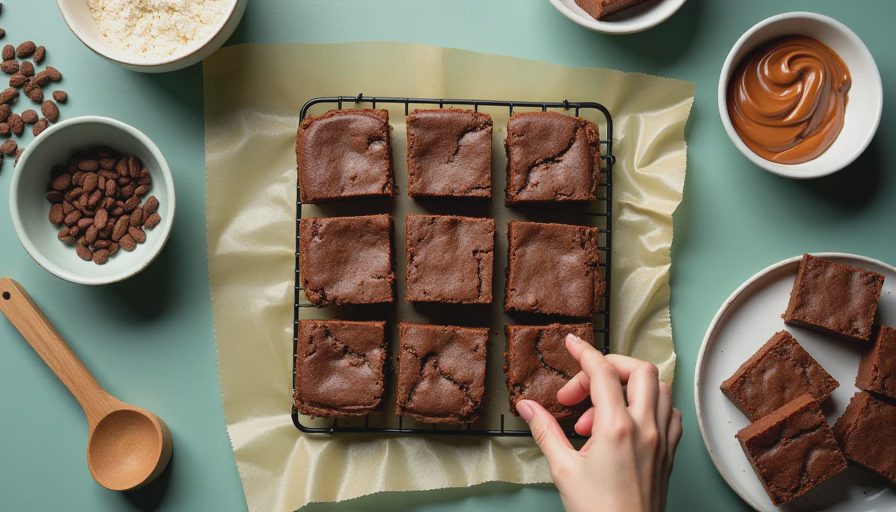
How to make white and chocolate brownies
Start by heating the oven to 350°F. Line an 8-inch square metal pan with parchment, leaving enough overhang to lift the brownies out later. Melt 6 tablespoons unsalted butter in a saucepan over low heat. Remove the pan from the burner, then whisk in 4 ounces chopped semisweet chocolate until smooth. Let it cool for five minutes so the mixture is warm rather than hot.
In a bowl, whisk 2 large eggs, 3/4 cup granulated sugar, 2 tablespoons maple syrup, 1 teaspoon vanilla extract, and 1/4 teaspoon fine salt. Whisk in the warm chocolate mixture. Fold in 3/4 cup all-purpose flour and 1/4 cup unsweetened natural cocoa powder. Stop mixing as soon as no dry streaks remain. Overworking the flour develops gluten and pushes this bake toward cakey territory.
For the white-chocolate portion, melt 3 tablespoons butter with 3 ounces chopped white chocolate. Use short bursts in the microwave or very low stovetop heat, stirring often. Cool it briefly, then stir in one egg yolk, 2 tablespoons flour, 1 tablespoon maple syrup, and 1/2 teaspoon vanilla. The mixture will be thicker than the dark batter, which is exactly what you want for distinct swirls rather than one muddy color.
Spread roughly two-thirds of the dark batter in the prepared pan. Spoon the white mixture over it in several patches, then add the remaining dark batter. Drag a butter knife through the layers four or five times. Do not keep swirling until the colors blend completely; a few confident passes create a better-looking pattern and preserve the flavor contrast.
Bake for 27 to 32 minutes. The edges should look set, while the center should still have a slight wobble. A toothpick inserted about 2 inches from the edge should show moist crumbs, not liquid batter. A clean toothpick usually means the brownies have gone too far. Cool them in the pan for at least 45 minutes before slicing.
The texture, taste, and useful adjustments
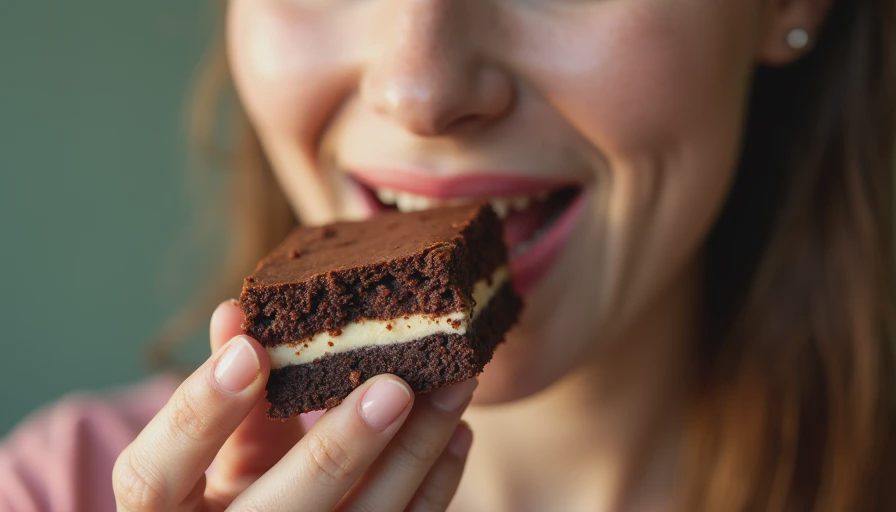
When warm, white and chocolate brownies are soft and almost truffle-like in the center. After several hours, they become easier to slice and develop a pleasantly chewy edge. The white-chocolate layer tastes buttery and vanilla-forward, while the dark layer keeps the whole pan from becoming one-note sweet. My family prefers them fully cooled; I prefer one corner while it is still slightly warm.
If you want more crunch, add 1/3 cup toasted chopped walnuts or pecans to the dark batter. For a nut-free celebration, use 1/3 cup mini semisweet chips instead. A teaspoon of instant espresso powder will deepen the chocolate flavor without making the brownies taste like coffee. Avoid adding extra liquid flavorings, such as milk or brewed coffee, because the batter already has a carefully balanced moisture level.
For a lower-sugar variation, replace 1/4 cup of the granulated sugar with a granulated allulose baking blend. Do not replace the entire amount with a cup-for-cup sweetener and expect identical results. Allulose browns faster and can make edges soft, while some erythritol blends leave a cooling sensation. Start with the partial swap, watch the last five minutes closely, and cool the pan completely before judging the texture.
Troubleshooting before you bake another batch
If the brownies are dry, the most likely causes are overbaking, too much flour, or cutting them while hot. Spoon flour into a measuring cup and level it rather than packing it down. If the center is greasy, the chocolate and butter may have separated, or the batter may have been swirled too aggressively after the white mixture was added. Gentle mixing and moderate heat solve both problems.
If the top is dull instead of lightly shiny, make sure the eggs and sugar were whisked together thoroughly before the chocolate mixture went in. The sugar does not need to dissolve completely, but the mixture should look cohesive. If the white chocolate seizes into a thick paste, the bowl may have contacted water or the chocolate may have overheated. Stir in the butter while everything is warm; if it remains grainy, start that layer again rather than spreading a broken mixture into the pan.
For clean bakery-style pieces, chill the cooled pan for 30 minutes, lift the parchment, and use a sharp knife wiped clean between cuts. This recipe makes 16 small squares or 9 generous ones. Store them in an airtight container for up to four days. The flavor is best at room temperature, when the white chocolate softens and the cocoa aroma becomes more noticeable.
A dessert that earns its place on the table
White and chocolate brownies do not need frosting, a complicated sugar substitute, or a long list of specialty ingredients. The important techniques are more modest: use good chocolate, measure the flour carefully, stop mixing early, and remove the pan when the center still looks slightly underdone. Those steps protect the fudgy texture that reduced-sugar baking often loses.
Serve the squares with strawberries, plain Greek yogurt, or coffee for adults, and let children help make the contrasting swirls. If you are bringing white and chocolate brownies to a gathering, cut them small and place them on a tray beside fresh fruit. Guests can enjoy a rich bite without feeling that the only choices are a giant slab or a disappointing “healthy” cookie. Less sugar. Same joy.

Letters
No letters yet — be the first to write.